
Computer-assisted music production means using a computer and software to create, record, and distribute music. This includes composing, recording, mixing, and exporting tracks.
Used in home studios and large studios alike, this technology relies on digital audio workstations (DAWs) and straightforward tools. Free options such as Audacity and GarageBand sit alongside Pro Tools, Ableton Live, and Cubase.
In this article, you will find definitions, a brief history, practical uses, equipment examples, and a guide to improving your skills. The aim is simple: make music creation accessible to everyone.
With a few hours and a methodical approach, you can make your work clearer and more effective. To go further, consult a practical guide and the lessons offered by Superprof music production lessons.
Computer-assisted music production: definition and fundamental principles
Computer-assisted music production covers methods that turn a computer into a sound workshop. It requires a computer, dedicated software, and sometimes accessories to create and organize sounds.
A practical definition
In practice, a DAW lets you create tracks, record, edit, mix, and export a piece of music. Interfaces vary, but the basic structure is the same: audio and MIDI tracks, an editor, a mixer, and sound libraries.
Clarifying the acronym and checking levels
In French, MAO has nothing to do with Mao Zedong: it abbreviates the term for this music-making practice. One practical point: if the meter turns red, the input level is too high. This causes distortion and listening fatigue; lower the gain.
Key concepts to know
- Digital audio: recording, nondestructive editing, fades, and cleaning up takes.
- MIDI: a protocol introduced in the 1980s to control instruments and automation.
- Virtual instruments: pianos, drums, synthesizers, and strings played with a keyboard or programmed.
- DAW: digital audio workstation software (Ableton Live, Pro Tools, Cubase, FL Studio, Logic Pro, Reaper, GarageBand, Audacity, LMMS).
These technologies have become more accessible thanks to guided interfaces and gradual learning. In practice, you create tracks, record audio and MIDI data, edit them, add effects, route signals, and export the finished result.
Origins and evolution of computer-assisted music production
Pioneering experiments turned computers into sound workshops by the mid-twentieth century. Machine-generated sounds were produced as early as 1951. In 1963, at Bell Telephone Laboratories, Max Vernon Mathews and his team synthesized sound through computation, stored it digitally, and played it back at will.

From laboratories to synthesizers
In the 1970s, synthesizers and microcomputers made these tools more accessible. Composers added more tracks and experimented with new timbres.
Standardization and wider access
The 1980s marked a turning point: the MIDI standard made it easier to synchronize instruments and software. Personal computers from companies such as Apple and Atari accelerated home studio use.
- Original goal: push the limits of computing to explore new sounds.
- Impact: multitrack recording and real-time editing changed production.
- Genres: electronic music benefited quickly, but musicians in every style gradually adopted these tools.
This history shows how a laboratory innovation spread throughout the musical world. For an educational perspective on writing music with digital tools, read an analysis of music notation and technology.
What Is Computer-Assisted Music Production? Answers to Frequently Asked Questions
Today’s tools let artists sketch out and refine their tracks quickly. You can compose with samples, loops, and virtual instruments. You can also create a polished score with Finale, Sibelius, or MuseScore.
This practice extends beyond electronic music. Rock, rap, pop, jazz, and classical musicians use these methods to record and produce music.
Common applications include:
- Composing with MIDI and audio tracks to test arrangements and ideas.
- Writing and sharing scores with dedicated software.
- Multitrack recording in a home studio and processing to improve takes.
- Mixing with equalization, compression, reverb, and delay to shape sounds.
- Distribution through exporting, mastering, and publishing on platforms.
For example, you could program a beat with loops, layer vocals and guitars, then export a master. Mobile apps such as BandLab and GarageBand for iOS let you sketch an idea anywhere before finishing it in a DAW.
To get started or deepen your knowledge, read an introduction to computer-based music production that explains its main applications and practical uses.
Equipment, software, and tools for getting started
Your choice of equipment directly affects the quality and ease of studio work. To begin, plan on a reliable computer with 8 GB of RAM, a processor running at least 2 GHz, 500 GB of storage, a 15-inch screen, and at least two USB ports.
These specifications matter because multitrack projects and virtual instruments use memory, processing power, and disk space. Without enough capacity, playback may drop out and processing can slow down.

Software and DAWs to know
Try several programs before buying: Pro Tools (a studio standard, with a 30-day trial), Ableton Live (for production and live performance, with a 90-day trial), Logic Pro for Mac, Cubase, FL Studio, and Reaper (with a 60-day trial).
For beginners, Audacity, GarageBand, LMMS, Mulab, and Darkwave Studio offer free or lightweight options. Good music production software should feel natural within your first few hours of use.
Accessories and alternatives
An audio interface reduces latency and improves preamp quality. Add a USB or XLR microphone, monitoring headphones, and, if possible, studio monitors.
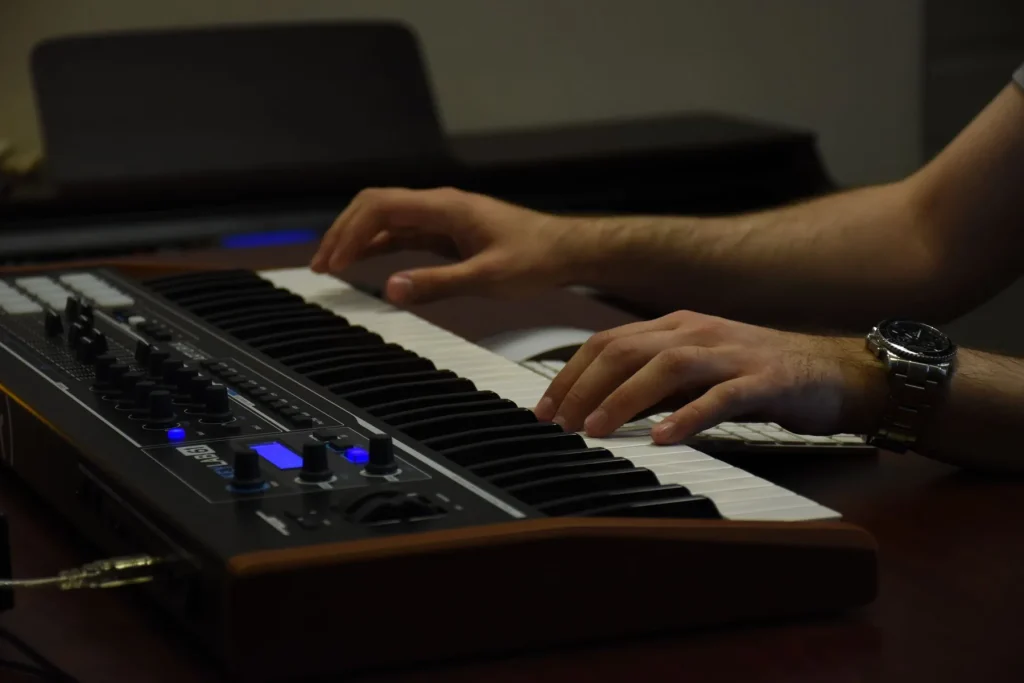
A MIDI controller keyboard makes composing on MIDI tracks easier and helps you work more quickly with virtual instruments.
Creating music on the move
To sketch ideas, use BandLab or GarageBand for iOS on a smartphone or tablet. Then import your tracks into a desktop DAW for mixing and final processing.
For step-by-step instructions and resources, see this practical music production guide.
Methods, good habits, and training for improvement
A structured plan makes it easier to learn techniques and improve. First, define what you want to do: compose, record, or mix. Then choose a suitable DAW and build a step-by-step learning plan.

Where to start and how to organize your learning
Here are a few simple pointers:
- Define your goal and the level you want to reach.
- Take a course at an educational institution for a complete curriculum.
- Practice every day, even if only for 20 minutes.
Three approaches work well: classes at a school, self-study through YouTube and learning platforms, and reading specialist blogs such as Audiofanzine. Combine them for a more complete education.
Learning guide and practical exercises
Try these exercises: recreate a drum part with a sampler, mix 10 tracks in 60 minutes, and compare the result before and after processing. Learn the techniques in a structured order: gain staging, audio and MIDI editing, equalization, compression, routing, and clean exporting.
| Approach | Benefit | Recommended level | Duration |
|---|---|---|---|
| Schools and training institutions | Complete curriculum, professional guidance | Intermediate to advanced | 3 to 12 months |
| Self-study (YouTube, platforms) | Flexible, affordable | Beginner to intermediate | At your own pace |
| Blogs & forums (Audiofanzine) | Firsthand experience, tips | All levels | Ongoing |
Formal training can help structure your learning. Keep music creation at the center of your work and set aside time to experiment with new tools.
Conclusion
Ultimately, organized use of a computer and software is enough to produce tracks ready for release. Computer-assisted music production brings together methods and tools that turn an idea into a finished creation.
The practice extends beyond electronic music: artists in every genre can benefit from it. The essentials are simple: good music production software, a few instruments, and a clear method.
For a quick exercise, choose a DAW, create an eight-track project, record vocals and guitar, apply basic effects, mix, and export. Save often, try Ableton Live or other software, and keep practicing to improve.