
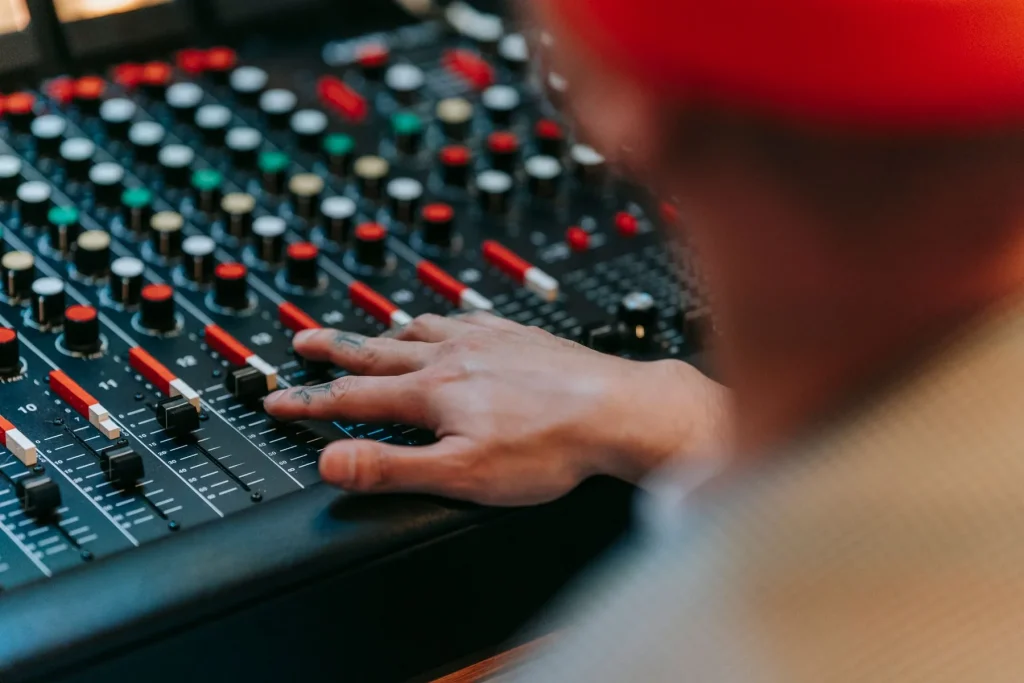
Goal: this guide offers a simple, repeatable process for turning an idea into a finished track.
Getting started can feel complicated: new terminology, learning a DAW, mixing, and exporting. Taking small steps helps you stay focused and avoid frustration.
Each step prepares you for the next. The emphasis is on practice rather than dense theory. Each stage has a concrete result: a timed foundation, pads, drums, bass, arrangement, mix, and an export ready to share.
Setting a public goal with a deadline strengthens your commitment. A realistic schedule is to plan sessions of 1 to 1½ hours, preferably in the morning, and aim to finish one track a week.
Why follow these steps? They give your creative work structure, spare you from learning everything at once, and gradually improve your skills.
For a detailed plan and step-by-step advice, read the complete guide that supports this process.
Before you start: intention, style, and desired result
Before you press play, define a clear intention to guide each decision. Describe your central idea, the emotion you want to convey, and the result you hope to achieve. This will help you choose the tempo, key, and sound density.
Choose 5 to 10 reference artists and analyze around 10 tracks: melodies, chord progressions, structures, and transitions. This listening develops your ear and gives you concrete points of reference for your own work.
Decide on the track’s target length and format (single, DJ use, or live performance). Set a realistic deadline—for example, one track a week—and announce it publicly to strengthen your commitment.
Schedule regular sessions of 1 to 1½ hours a day, ideally in the morning. If possible, add a financial or social stake to reinforce your discipline.
- Clarify your intention and criteria for success.
- List your initial choices: tempo, key, and rhythm.
- Put together a small collection of references and example notes.
Set up your DAW for a clean sound from the start
Before working on the sound, open the DAW you know best (Ableton, Logic, FL Studio, or Reaper). Familiar software gives you more time to create.

Choose a DAW and essential instruments
Install two or three reliable virtual instruments: a piano or synthesizer, a bass, and a drum kit. Favor simple VST instruments such as Keyzone Classic so you can quickly build a coherent set of sounds.
An effective basic setup
Create named tracks (drums, bass, pads, lead melody, vocals) and group buses. Set the tempo, turn on the metronome, and configure the grid so you can record accurately from the start.
Manage the project
Work in sessions of 1 to 1½ hours: spend the first part creating and the second editing. Save often and create successive versions (v1, v2, v3). Prepare a project template with basic routing and monitoring.
| Element | Action | Benefit |
|---|---|---|
| DAW | Choose familiar software | Less time wasted |
| Instruments | Two or three versatile VST instruments | Coherent sounds quickly |
| Organization | Named tracks and buses | A better organized workflow |
| Saving | Successive versions | Security and the option to go back |
Lay the musical foundation: capture your idea and choose your sounds
Start with a clear foundation: piano, chords, and a defined tempo. The rest of the project depends on this step.
Audio or MIDI? You have three options: record an acoustic piano (quality depends on the microphone), record a digital piano directly through an interface, or use MIDI with a VST instrument.
Audio or MIDI
MIDI gives you more flexibility to correct timing and align notes with the grid. Keyzone Classic offers free piano sounds that are quick to try.
If you record audio, aim for a clean take: choose a quiet room and play to a metronome to reduce the need for corrections.
Separate the hands and sounds
With MIDI, put the left and right hands on separate tracks. You can then assign different sounds to the accompaniment and melody.
Follow the chord progression and create a simple melody that guides the listener. Quantize lightly to correct inaccuracies without losing the groove.
- Choose audio or MIDI according to how much editing you expect to do.
- Set levels to leave headroom for mixing.
- Name your tracks and sections (intro, verse, chorus).
| Option | Benefit | Drawback |
|---|---|---|
| Acoustic piano recorded as audio | Natural character | Noise and microphone-dependent quality |
| Digital piano recorded as audio | Faithful direct signal | Less flexibility to correct timing |
| MIDI and VST instrument (Keyzone) | Easy editing and separation of the hands | Less organic sound, but highly adjustable |
Add width: create a background pad
A pad can turn a flat arrangement into a more expansive soundscape.
Suitable sounds for filling the background include sustained strings, choirs, and pianos with long notes. Avoid percussive sounds, which diminish the sense of width. These sounds add softness and sustain to the whole track.
To build the pad, use the accompaniment’s chords. Make subtle inversions and choose a different octave so the pad remains distinct. A higher octave adds air; a lower one adds body.

- Choose spacious sounds that fill the spectrum without overly sharp attacks.
- Use slow envelopes and gentle filters to soften the attack and create a bed of sound.
- Widen the stereo image moderately and apply light compression to steady the pad without crushing it.
- Automate a filter or pitch to bring movement to the background.
| Element | Action | Result |
|---|---|---|
| Sounds | Strings, choirs, piano with sustained notes | Width and sustain |
| Chords | Inversions that preserve the harmony | Harmonic consistency |
| Octave | Try a higher or lower register | More distinct sound layers |
| Stereo & dynamics | Moderate widening and light compression | A pad that is present without dominating the track |
A few quick examples: soft strings with a light choir, or a piano with sustained notes alongside a subtle analog pad. The pad should support and shape the track without masking its rhythmic foundation.
More groove: create a clear, coherent drum part
A good groove starts with simple, precise choices. Choose the kick, snare, and hi-hat to suit the style. You can add claps, crash cymbals, toms, and light percussion for color without overcrowding the track.
Lay down a clear basic pattern: kick on beats 1 and 3, snare on beats 2 and 4, and eighth notes on the hi-hat. Build an eight-bar loop to make variations easier to add.
Kick, snare, hi-hat: choose your sounds and elements
Select sounds that work together: a punchy kick for the foundation and a snare that stands out. Pay attention to their character so each element has its own place in the frequency spectrum.
Basic pattern and timing
Stay in time while preserving the groove: use light quantization, ghost notes, and occasional accents. Keep the main rhythmic pulse clear.
Purposeful variations
Add subtle fills at transitions and percussion to bring the dynamics to life. Listen to professional tracks for inspiration, then capture their intent without copying them.
| Action | Goal | Result |
|---|---|---|
| Choose the elements | Clear sound textures | An easy-to-follow groove |
| Eight-bar pattern | Natural variations | A less mechanical sound |
| Light quantization | Preserve the groove | A convincing rhythm |
Strengthen the foundation: write an effective bass line
A well-considered bass line gives a chord progression its groove. Start simply: prioritize harmonic stability and timing.
Follow the root notes and add passing notes
Starting with the root notes of the chords gives you a solid foundation. For example, over Em, C, G, and D chords, play E, C, G, and D as anchor notes.
Add a few passing notes, especially between chord changes. Often place the root note at the start of a bar to anchor the section.

Lock the bass to the kick without overcrowding the mix
Synchronize the bass line with the kick to strengthen the rhythmic impact. Placing the first note on a strong beat helps stabilize the mix.
Adjust the bass line’s complexity: keep it simple to give the melody room, or add movement if the song calls for it.
- Build the line in stages: start with a simple version, then add slight variations.
- Try several rhythmic patterns and choose the one with the most breathing room.
- Control the register and dynamics to avoid clashes with the pads.
| Action | Goal | Result |
|---|---|---|
| Root note | Harmonic foundation | Clear foundation |
| Alignment with the kick | Rhythmic impact | A tight groove |
| Successive variations | Controlled movement | Restraint and clarity |
Create Your First Track in a DAW in 10 Steps: Arrangement, Mixing, and Export
Shaping a track’s energy changes its impact on the listener.
Arrangement: manage energy, breaks, and drops
Set the length of each section according to its intended use (radio, streaming, DJ sets). Favor a short intro, clear development, breaks that give the track room to breathe, and drops that make an impact.
- Intro, verse, chorus, break, drop, outro: adjust their length to the style.
- Shape the energy by adding or removing sounds rather than piling on effects.
- Place the melody and transitions to heighten the impact of the drops.

Recording and editing: clean vocal takes
Prepare a clean recording chain, set the input level, and record several takes so you can select the best passages.
Clean up the takes: trim silences, remove clicks, and align passages without losing their musical feel. Recording quality makes every later step easier.
Mixing and first effects: balance and premaster
Start by balancing the tracks with the faders. Then create space with panning and gentle EQ.
Add one effect at a time (reverb or delay) and check the stereo image. Export a premaster with headroom, then apply light mastering to achieve the result you want.
“A clear mix reveals the song; a good arrangement makes it memorable.”
| Step | Goal | Action |
|---|---|---|
| Export | Premaster | 24-bit WAV, 6 dB of headroom |
| Mastering | Create a consistent sound | Light compression, final EQ |
| Saving | Comparison | Versions: arrangement, mix, final |
Create faster: methods, examples, and time management
A clear framework with short sessions helps you make quick progress while keeping your ideas fresh. Make a personal commitment: tell people you trust about your goal and, if needed, add a financial stake to help you stay on track.
Schedule daily sessions of 1 to 1½ hours, often in the morning. Alternate composition, arrangement, and mixing during the week to maintain a steady pace and finish several tracks without getting stuck.
Limit your sound palette: keep around 50 drum samples, a few essential loops, and organized presets. Fewer choices speed up decisions and stop you from constantly looking for new plugins.
- Make a public commitment to people close to you to protect your creative time.
- Choose a regular time slot when your mind is fresh.
- Write down each idea as it comes and keep a bank of ideas you can reuse.
- Accept progress through quick versions: draft → v1 → refinement.
| Action | Goal | Frequency | Result |
|---|---|---|---|
| Public commitment | Accountability | One announcement | Time set aside is respected |
| Short sessions | Productivity | Every day | More finished tracks |
| Organized sound library | Speed | During setup | Faster decisions |
| Reference analysis | Inspiration | Before each project | Less trial and error |
Measure your progress objectively: time spent, sections finished, and tracks that reach the mixing stage. This tracking lets you adjust your schedule and produce future tracks faster.
Conclusion
A few well-chosen actions are enough to turn an idea into a finished track. Follow a logical order: harmonic foundation, pads, clear drums, a tight bass line, then arrangement, mixing, and export for a coherent result.
Quality comes from simple choices executed well: suitable sounds and instruments, clear timing, and preserved headroom. Give the kick and background elements careful attention so the drums and bass support the song without interfering with each other.
Pads, vocals, and other elements add color. Use them in moderation and revisit tracks by artists you admire to develop your ear and inspire your next compositions.
Adopt a structured workflow (project templates and checklists) and finish tracks regularly: a few completed tracks are better than projects that drag on. Share them, ask for feedback, and improve with each track.