
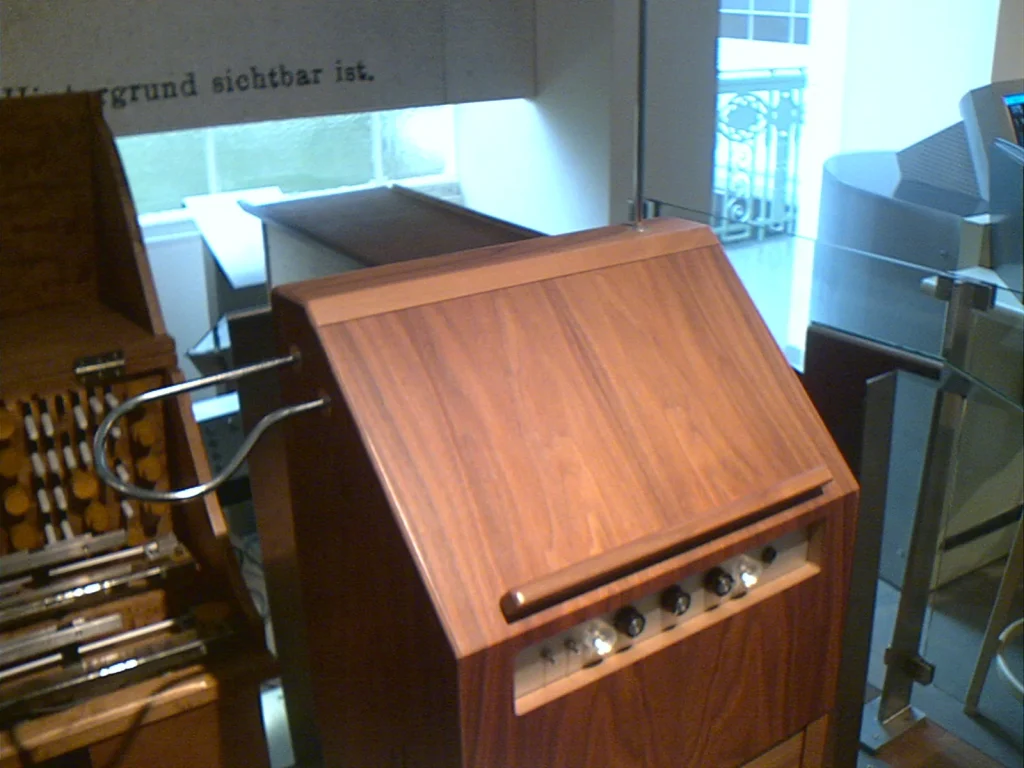
The theremin is an electronic music instrument. It creates distinctive sounds using electromagnetic fields. The musician controls pitch and volume with hand movements.
This DIY guide will help you build a theremin. It is an exciting DIY project for exploring electronics. You will learn how to use the key components and assemble the theremin.
For more detail, a complete guide is available. It offers tips to help your project succeed.
Introduction to the theremin and its importance in electronic music
The theremin has shaped electronic music since the early twentieth century. This fascinating instrument has shown its importance as an instrument. It lets artists make music in a unique way, without touching strings.
Pioneers such as Hugh Davies played a key role in the development of electronic music. They opened the way for new experiments with sound. Davies even argued that anything could be an instrument, encouraging DIY projects and circuit bending.
The theremin is valued in many genres beyond classical music. Its ability to combine technology with live performance shows the importance of the connection between music and technology. This combination is central to electronic music.
Main components for building a theremin
Building a theremin requires several key elements for it to work well and be comfortable to play. These components are essential to the playing experience and sound quality. Here are the main elements to consider when building a theremin.
Enclosure and design
The theremin’s enclosure protects its electronic components. It should look appealing and be easy to customize. It should also be spacious enough to provide easy access to the components.
The design should include mounts for the antennas. These keep the antennas properly positioned while the instrument is played.
Pitch antenna and volume antenna
The antennas control the theremin’s sound. The pitch antenna adjusts the notes’ pitch. The volume antenna controls the sound level.
To work well, these antennas must be easy to reach and use. They should also provide reliable performance.
Required electronic components
Assembling a theremin requires several electronic components: a reference oscillator, variable-frequency oscillators, a mixer, an audio amplifier, and a 12-volt power supply. These components are essential for the instrument to function properly.
You can buy them from electronics shops or online. This makes DIY electronics more accessible.

| Components | Role |
|---|---|
| Theremin enclosure | Houses the internal circuits |
| Pitch antenna | Controls pitch |
| Volume antenna | Controls sound level |
| Reference oscillator | Provides frequency stability |
| Mixer | Combines audio signals |
| Audio amplifier | Increases sound volume |
| 12 V power supply | Supplies power to the circuit |
Building a theremin: a step-by-step DIY guide
Before you begin, decide whether to use a kit or build the theremin from scratch. Each approach has advantages and disadvantages. Your choice can affect the success of your project.
Choosing between a kit and building from scratch
Theremin kits simplify the work. They include all the parts and a step-by-step tutorial. They suit beginners and anyone who wants to complete the project quickly.
Building a theremin from scratch lets you customize it completely. It requires electronics knowledge and a good understanding of the components.
Buying components from an electronics shop
If you choose to build the theremin, you will need to buy components from an electronics shop. You will need oscillators, a mixer, and antennas. Specialist shops offer a wide range of components.
Check that the parts you need are available. This will make assembly easier.
| Theremin kit | Building from scratch |
|---|---|
| Easy to assemble | Fully customizable |
| All parts included | Requires advanced skills |
| Clear instructions provided | Requires a thorough understanding of circuits |
| Can be more expensive | Costs vary by component |
Assembling the electronic circuit
Circuit assembly is essential to building your theremin. Start by connecting the oscillators. These components play a key role in producing the instrument’s sound.
Connecting the reference oscillator to the variable-frequency oscillator produces the sounds you hear. This step is crucial to your theremin’s final sound.
Connecting the oscillators
After installing the oscillators, check the frequency settings carefully. Proper tuning produces rich, pleasant sounds. A poor connection or incorrect setting can produce unpleasant sounds.
Follow the instructions carefully. To learn more about electronics, consult Charles Platt’s book Make: Electronics. It offers advice and projects.
Installing the mixer and amplifier
After connecting the oscillators, route the audio signal to a mixer. This step combines the frequencies. Then add an amplifier to strengthen the signal.
This lets you hear the sound clearly through a speaker. Install the amplifier correctly to avoid distortion. For more information about data handling, see Musique Tactile’s legal notice.
FAQ
What is a theremin, and how does it work?
What are the main components needed to build a theremin?
Is it better to buy a theremin kit or build one from scratch?
Where can I buy the components needed to build a theremin?
How do I connect the oscillators when assembling the theremin?
What do the mixer and amplifier do in a theremin?
Source links
- https://technitoys.com/building-a-replica-moog-melodia-theremin/
- https://deaksoftware.com.au/articles/building_a_theremin/
- https://www.academia.edu/44014997/Music_Engineering
- https://eprints.whiterose.ac.uk/id/eprint/190957/1/4_Mooney__Pinch_Final_Word%20-%20Symplectic.pdf